The simple answer is yes. A better question is, what happens if I don’t? How often and what should be done? The biggest follow up question is how much it costs and who should do it?
Why You Should Avail a Routine HVAC System Maintenance?
With a new air conditioning and heating system, you may not know that if your HVAC contractor does not perform regular maintenance on the unit it could void your warranty. This statement is in every manufacturer’s owner’s manual for these appliances which says “maintenance required to keep systems under warranty.” Manufacturers can ask for proof when filing claims about services performed by other companies so be sure to check with them first before trusting anyone else!
Getting it done is going to save you a lot more money, and headaches, than running your system into the ground. Most, if not all, breakdowns will have early warning signs that can prevent costly repairs if caught in time.
Something simple like replacing your air filter should be done according to the amount of use your system sees. If your system is running every day, all year long, your filters may need to be replaced as often as every 60 days. From there, you can plan out if you need to change out the air filters more often, like every month or every quarter or every six months. Since filter racks are usually instead near the furnace most homeowners can handle filter replacements if the unit is in the closet or the garage. If your furnace is in the attic, it might be on the ceiling grill in the hallway. If you have an electric air cleaner, it is best to have a professional HVAC company service the unit at least once a year.
The cost for “HVAC Maintenance” or “Tune-Up” or “Safety Check” per system from a professional company is usually around $75 to $250. Stay clear of any company charging less than that. In the HVAC industry, it’s a tool by many companies to get into the home to sell you more services. You can save money by signing up for a maintenance agreement but only do so if you feel the original service was a good experience.
What Are The Usual HVAC Maintenance Routine Check-up?
What should be included in your home HVAC maintenance by a professional? This depends on the season, the type of equipment your home has and what you’re paying for. But in the Spring, you should focus on your air conditioning system and in the fall your heating system. Both heating and air conditioning systems usually work together to get your home comfortable but service them as the seasons come near.
These are the basics that every HVAC contractor should check when serving a system, but there can be more done. Like checking the gas pressure to the burners, check combustion inside they system with the right tools, inspect the heat exchanger for cracks, check temperature rises between air going in and out. Usually, if they are testing these things without having cause, they are looking for something to fix more than doing it because it’s the right thing to do. These last things listed can be subjective and interpreted as cause to replace your furnace. If they find something wrong and say you need a new furnace to tell them, you need a second option.
Your local Gas Utility Company will usually come to your home for free to make sure the furnace is safe for use; the only dilemma is sometimes it can be a two to three weeks long wait to come out.
When servicing you your air conditioning system before summer your HVAC company should wash the condensing coil with water only or the right chemical solution. Having a technician that doesn’t know what he’s doing can destroy your unit and is more common now with all aluminum condensing coils. He should also check for burn marks on the electrical components inside and outside the unit, check for basic refrigerant leaks, check the ductwork for air leaks, check for any loose wires inside the unit, check that amps on the motors are running correctly. Often most inexperienced technicians will check the pressures of your unit. This should only be done if there are issues with performance, and there are plenty of ways to see if your system has the right level of refrigerant without hooking up gages to it. The problem with hooking up gauges (the tool to check pressures inside your air conditioner) is that HVAC technicians are touching dirty and damaged air conditioners all day long. This opens up the possibility contaminate your system on accident, and all you wanted was maintenance. Change the filter is most as well.
When getting your air conditioning or heater maintained, ask a question to the person you are thinking of hiring. Like, how long will it take? Is the technician you are sending experienced? How long have you been in business? Will there be any other charges than the one you are quoting over the phone? It is also a good idea to look at their reviews; it can say a lot about a company. Bad reviews tell you the culture of the company, and a company that has less than ten reviews means that they are not giving service above expectations.
With fewer than 500,000 people living and working on the Gulf Coast before A/C was invented; it’s no wonder this state is so hot.
Air conditioning has made life easier for those that live there by providing them with a way to keep cool during these unforgiving months when humidity levels are high due in part from lack of rain but also because their climate produces more sweating than other areas do naturally which leads us back into another problem – mold growth indoors without proper ventilation! However now you don’t need an expensive repair or service call thanks to preventive maintenance practices done ahead of time like changing filters regularly (every week) as well checking fans regularly.
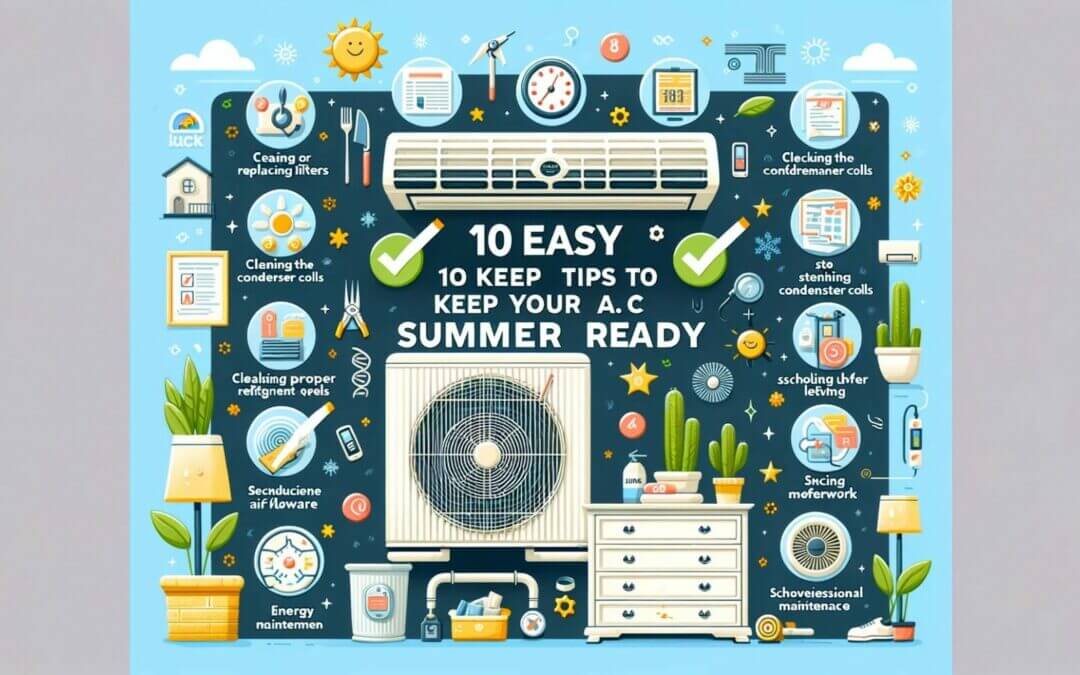
Here are 10 tips on keeping your AC cool and your temperament cooler.
1. Change the Filter
This one is a no-brainer for homeowners with central heat and air. The filter is the lungs of your air conditioner. If you allow it to build up with dust, dirt, and debris, it will make it work harder to cool the house.
If it gets too bad, your coils will start to get dirty, which traps condensation, leading to them freezing up. Change your filter monthly if you’re using standard fiberglass filters. We recommend investing in more eco-friendly and efficient HEPA filters.
2. Remove Outside Debris
The outdoor condenser unit can get dirty, damaged, and filled with obstructions quickly. Even if your yard doesn’t have any trees, leaves will find their way into your condenser. As your unit becomes blocked by debris, it runs harder and hotter, causing higher energy usage.
If things get really bad, you’ll eventually run into parts failing (solenoids are especially susceptible) and potential electrical fire hazard. Do a thorough job of clearing out leaves, twigs, and caked-on dirt with a low-pressure water hose.
3. Clear Your Vents
This tip is great for overall air quality and cooling efficiency. It’s a dirty job, but someone’s gotta do it. Start by opening your supply vents in each room.
Make sure none of them are completely closed, as it creates unnecessary pressure on the ducts. This leads to cool air leaking into the attic or underflooring, wasting energy. The added pressure also causes the air handler to work harder.
Clean these vents and watch for potential obstructions, like drapes, rugs, and etc.
4. Clean the Drainage
As the months get hotter, your AC unit “sweats” more. This excess condensation should collect outside and evaporate. That is, as long as there is nothing clogging the drain line.
You should do regular maintenance on the outside drain to make sure leaves and mud aren’t building up. If your drain does become backed up, water will begin collecting inside your AC closet. There’s a small container that will fill and trigger a switch to automatically shut off the unit.
Use a wet-dry vacuum to suck up any debris on the outside drain and on the inside drain pipe.
5. Check the Refrigerant
While we do not recommend anyone to change their refrigerant, you can check if it’s running low. On the outside condenser unit, there are two copper pipes. The largest of the two is surrounded by insulation, but it should feel cold.
If it doesn’t, then it is running low on coolant. For those with commercial air conditioners, you’re best off having an HVAC professional come to service the coolant.
Locate the two copper lines that run to the condenser unit and identify the larger line, which might have insulation around it. The line should feel cold to the touch or sweat when the A/C runs. If the line feels warm after running the air conditioner, call an HVAC specialist to add coolant.
6. Cover for Winter
Unexpected snowfall can really do a number on your outdoor unit. The snow itself can cause rust and electrical damage if you don’t use a heat pump. AC covers are pretty cheap and easy to install.
These covers are vital for preventing outside debris from falling into the vents. If you can’t find any covers, a sturdy tarp or piece of plywood will also do.
7. Digital Thermostat
Upgrade your thermostat to a digital, programmable thermostat. This upgrade will save you the most time and money during the summer. If possible, choose a smart thermostat, like the Nest.
Independent studies have shown a 10-15% reduction on the average bill. That means it pays for itself in less than a year for most people. With a smart thermostat, your air conditioner is ready to adapt to your needs.
8. Brush the Fins
After taking a water hose to the outside AC unit, you’ll need to do a bit of detailing. Find a soft brush, like an old toothbrush or tile brush, and go over the fins. These small metal filters are easily bent, so watch the pressure and angle of your brush strokes.
9. Level Concrete Foundation
With all the debris out of the way, don’t forget the foundation. The concrete slab should be visible all the way around. Clear any growth from around it.
Worry about aesthetics later, you need to make sure your AC unit is level and sitting unobstructed. If it isn’t level, you’ll need to adjust the slab, add fillers, or replace it altogether. You’re more prone to clogs and debris with an uneven concrete foundation.
10. Check for Gaps
Often overlooked, this last step involves making your home as leak-proof as possible. Older homes are especially bad with keeping the climate in your house stable. Look at window frames, doorways, and attic entryways.
You’ll need to seal any gaps with insulation, caulking, rubber flaps, and etc.
Find Out if Your Air Conditioner is Ready
We know it’s a lot to check off on this maintenance list. Making sure your air conditioner is ready every year takes time and experience. Some of these activities are best left to the professionals.
At Fast AC Service, we handle all maintenance, repair, and install jobs, big or small. We work with commercial and residential clients to ensure safe and efficient HVAC servicing. Contact us today if you’re having any problems or need a more reliable AC when the heatwave hits.
Commercial ice machines can make hundreds of pounds of ice per day. Exceptionally large ice machines are capable of thousands of pounds of ice per day.
But in order to keep that ice coming commercial ice machine cleaning needs to be a priority. Read on for a step-by-step guide to cleaning commercial ice machines.
How Often to Clean Commercial Ice Makers
To keep your ice machine running properly and efficiently, you’ll need to clean it often.
But how often is that? It really depends on your usage and the manufacturer’s recommendations.
Most manufacturers suggest a deep cleaning of the commercial ice maker at least every six months. But you may need to clean it more often based on heavy use.
You’ll also need more frequent ice machine cleaning if you run a pizzeria a bakery or another shop where flour or yeast often floats through the air.
Your commercial ice maker will alert you when it’s time to clean it. Keep an eye out for poor ice quality (either too soft or not clear). Look for shallow or poorly formed cubes.
If the ice machine has a low capacity or is slow to harvest or release, it’s time for deep cleaning.
Cleaning Commercial Ice Machines
These general steps will help you clean your commercial ice maker. Always read the manufacturer’s instructions for model-specific instructions.
First, dispose of any ice in the unit.
Then clean the machine’s water system. Your instruction manual will explain how to do this for your unit. Expect this step to take about 20 minutes.
Once this is done, unplug the ice machine. Take the ice maker apart so you can clean the individual parts.
Next, inspect the air filters. You can typically find a chart in the manual that explains how much cleaning solution to mix with water to clean the filters.
Clean all the removable parts with a cleaning solution. Then clean the surfaces such as the base, the sides, and evaporator plastic parts.
Don’t be alarmed if the cleaning solution foams. That means there is some kind of mineral deposit on the unit.
Once it stops foaming, use a cloth to scrub those areas. Then rinse the individual parts with clean water.
Now, check the machine’s filtration system for even pressure. Then inspect the sensors, hoses, pump, cube sizing controls and thermistors.
Just like with the filter, it is vital that you clean the condenser at least every six months.
When the condenser is dirty, air can’t circulate well. This leads to less ice, higher operating temperatures and ultimately, a shorter lifespan on your unit.
First, make sure the power is off to the ice machine as well as the remote condensing unit.
Next, check for dirt by pointing a flashlight at the fins of the condenser. You can clean this by blowing air through the condenser hose.
Or you can rinse it with water starting from the inside. If there is still dirt after you’ve done these steps, you’ll need to make an appointment to have your unit serviced.
Once the commercial ice maker is clean, you can then sanitize it.
Sanitize Your Ice Machine
Now that your ice machine is clean, you’ll need to sanitize it. Use the sanitizing solution and lukewarm water according to the directions on the package.
Sanitize all the individual parts you’ve removed from your ice machine. Use a spray bottle to soak the parts or immerse the parts in a sink full of solution and water. Let the parts soak in the solution for a few minutes.
While those parts are soaking, use the sanitizing solution to clean all the surfaces of the machine. Be generous when applying the solution.
Once you’re done, you can replace all the components. You do not need to rinse these with water!
Set a timer for 20 minutes and wait. When the timer beeps, plug in the ice machine and turn it on.
Push the “clean” or “wash” button on your ice machine. The display should tell you when it’s time to add the sanitizing solution to the water trough.
Set your machine to make ice after the sanitizing cycle finishes. It may take over 20 minutes.
Throw out the first batch of ice and run another cycle. Check the freeze and harvest cycle times to ensure the ice machine is working well.
How to Clean the Exterior of Your Machine
The outside of your commercial ice machine can be cleaned as often as necessary. If your kitchen has a lot of grease and flour, the outside of your ice maker will need cleaning much more often.
Cleaning the outside of your commercial ice maker is simple. All you need to do is wipe down the surfaces with a warm damp cloth. This will remove dust and dirt.
If the exterior of your unit has stubborn grease, use a soapy dish rag to wipe the grease away.
Make sure you don’t use any abrasive scrubbing cloths or brushes on the exterior of your machine. Check your machine’s manual for the recommended cleaners you can use.
You should never use cleaners that have citrus, chlorine or abrasive ingredients on the panels or plastic trim.
Final Thoughts on Cleaning Commerical Ice Machines
Thanks for reading! We hope these step-by-step instructions for cleaning commercial ice machines help you keep your unit in tip-top condition.
Remember, proper maintenance will keep your unit running well. It will also extend the lifespan of your ice maker.
If you run into any concerns while you clean your ice machine, contact us. At Comfort Time Heating and Cooling we pride ourselves on giving you great service so that you refer us to all your family and friends.
Hi my name is Angel Muro I established Comfort Time Heating & Cooling driven by my deep passion for HVAC and a sincere commitment to improving our customers' comfort. My initial fascination with plumbing, heating, and air conditioning systems has evolved into a dedicated profession, emphasizing the significance of both technical expertise and a warm, customer-centric approach. This blog aims to provide valuable insights and information. While some pages provide details about our services, my primary goal is to share real-life experiences that can assist you in various HVAC matters.
Have A Plumbing, Heating Or Air Conditioning Project & You Can Us Our Help?
Comfort Time Plumbing Heating & Cooling Servicing Southern California
At Comfort Time Plumbing Heating and Cooling, we are your trusted HVAC & Plumbing experts serving Southern California. With years of experience in the industry, we take pride in delivering top-notch heating and cooling solutions tailored to the unique climate and needs of the region. Whether you're in the coastal areas, inland valleys, or urban centers, our team of dedicated professionals is here to ensure your year-round comfort. We stay up-to-date with the latest technologies to offer energy-efficient solutions, and our commitment to customer satisfaction means you can rely on us for prompt and reliable service. When it comes to your HVAC needs in Southern California, Comfort Time is the name you can trust.